(850) 694-5918
joel@jcarrollconstruction.com
Establish a consistent, professional process for water damage mitigation that:
Applies to:
Drying Equipment
Monitoring Tools
Containment & Safety
Crew Lead / Project Manager
Technicians
STEP 1: Initial Inspection & Safety
☐ Identify water source and stop it
☐ Determine water category (1 / 2 / 3)
☐ Check for electrical hazards
☐ Document pre-loss condition (photos/video)
☐ Set drying goals (based on unaffected areas)
STEP 2: Water Extraction
☐ Remove standing water (extractors/pumps)
☐ Remove saturated contents (carpet pad, furniture)
☐ Dispose of unsalvageable materials (per category)
STEP 3: Controlled Demolition (As needed)
☐ Remove baseboards, drywall, insulation
☐ Open wall cavities if moisture detected
☐ Bag and remove debris properly
STEP 4: Containment Setup (Critical)
☐ Install plastic containment barriers
☐ Seal off unaffected areas
☐ Create negative air zone if mold or Cat 2/3
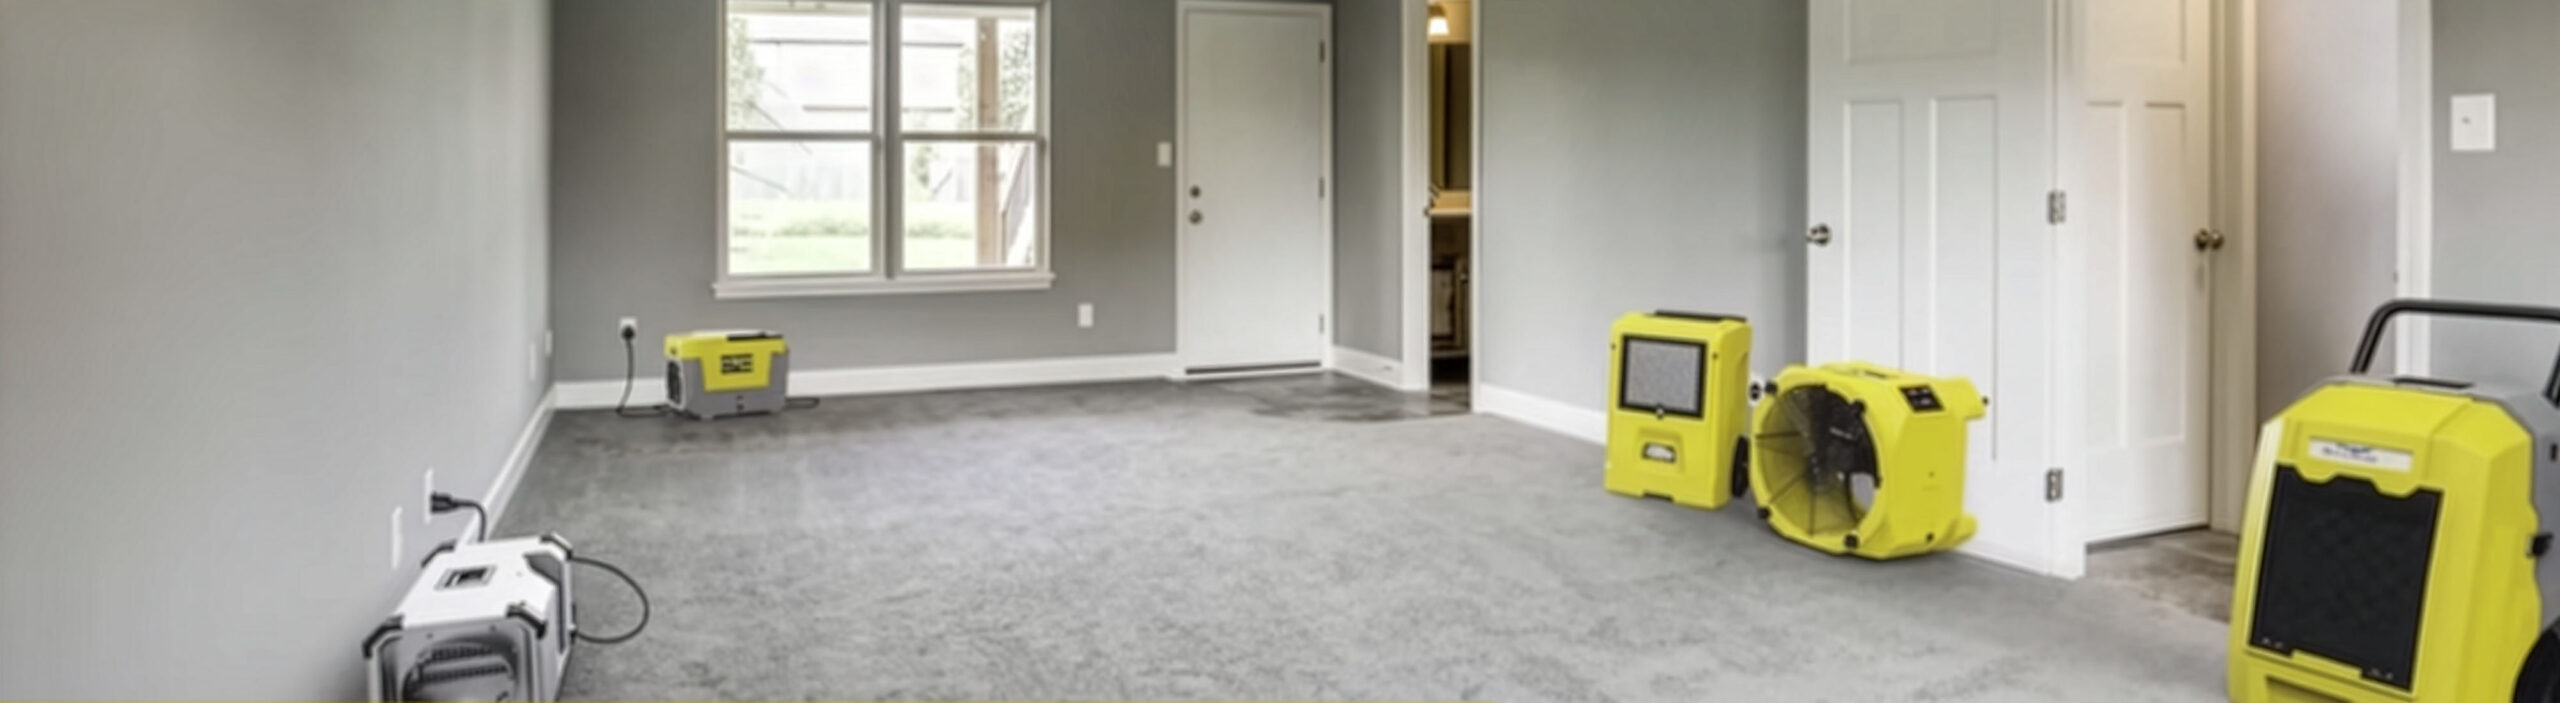
STEP 5: Equipment Setup
Dehumidifier Placement
☐ Place centrally or in largest affected area
☐ Ensure clear airflow (no obstructions)
☐ Connect continuous drainage
Air Movers
☐ Position every 10–16 linear feet
☐ Aim airflow across wet surfaces (not directly at each other)
☐ Create circular airflow pattern
Air Scrubber Setup
☐ Place inside containment area
☐ Run continuously (24/7)
☐ Vent to exterior if creating negative air
STEP 6: Initial Readings
☐ Record:
☐ Set baseline drying targets
STEP 7: Drying Phase (24–72+ hours)
Daily Monitoring Checklist
☐ Check and log moisture readings
☐ Adjust equipment placement as needed
☐ Ensure all units are running properly
☐ Empty/verify drainage systems
☐ Inspect for mold or odor
Adjustments
☐ Add/remove air movers based on progress
☐ Reposition dehumidifier if needed
☐ Increase containment if contamination spreads
STEP 8: Air Quality Control
☐ Keep air scrubbers running at all times
☐ Replace filters as needed
☐ Maintain negative air pressure (if applicable)
STEP 9: Drying Verification
☐ Compare affected areas to dry standard
☐ Confirm materials are at acceptable moisture levels
☐ Perform final moisture mapping
STEP 10: Equipment Removal
☐ Remove equipment once drying goals met
☐ Clean and sanitize equipment
☐ Remove containment barriers
STEP 11: Post-Mitigation
☐ Apply antimicrobial treatment if needed
☐ Prepare area for rebuild
☐ Final documentation for insurance